

Key Takeaways
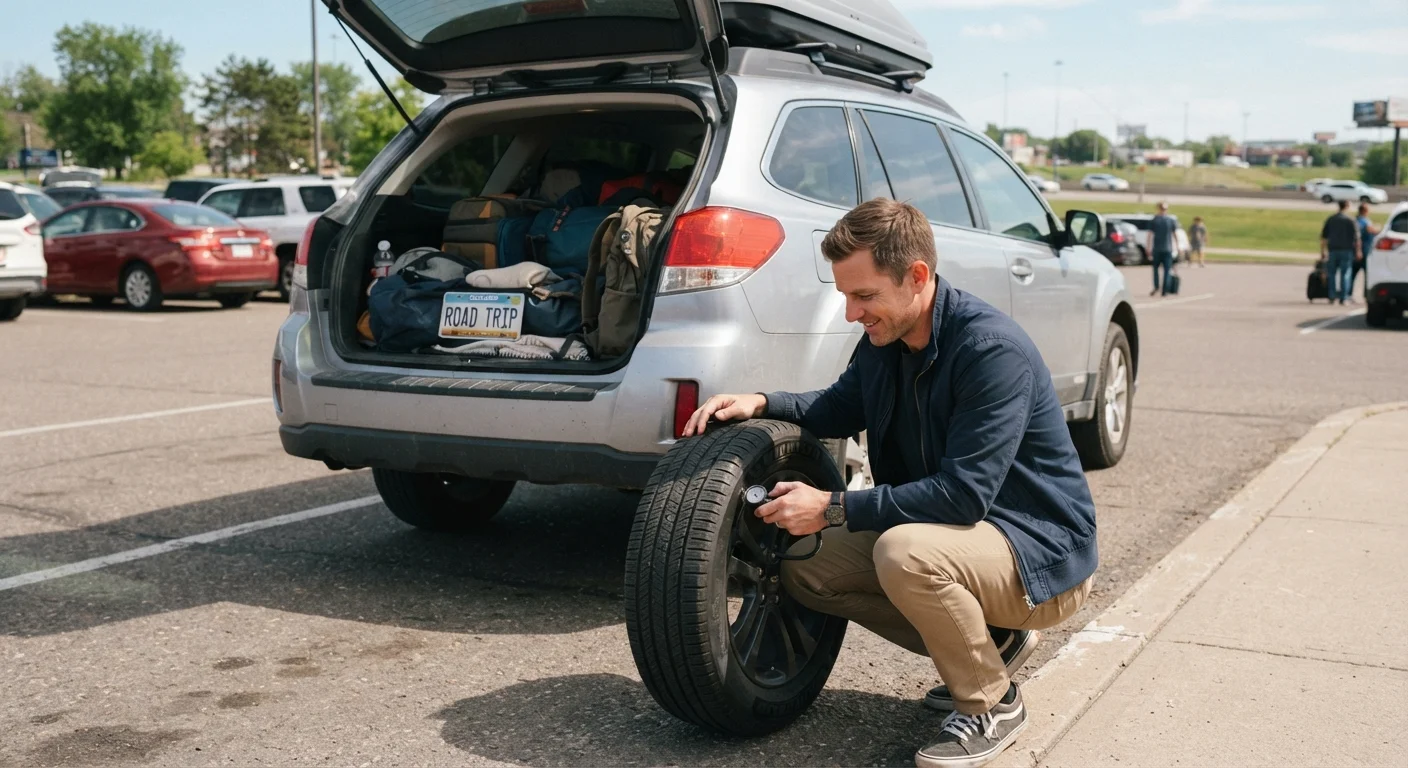
- Tire pressure and tread depth are among the most critical checks before any long drive.
- Fluid levels — oil, coolant, brake fluid — should be verified, not assumed.
- Every exterior light should be tested, including brake lights and turn signals.
- A basic emergency kit can make a stressful roadside situation far more manageable.
- Wipers and windshield visibility are easily overlooked but affect safety in poor weather.
Summary
22 items · 20–40 minutes
Why a Pre-Trip Check Matters
Most vehicle breakdowns and a significant share of highway incidents involve conditions that a driver could have identified before leaving home — worn tires, low brake fluid, a burned-out headlight. Running through a structured pre-trip check doesn't require a mechanic's expertise; it requires about 20 to 40 minutes and knowing what to look for.
This checklist is designed for US drivers preparing for any drive longer than a typical commute. Whether you're heading out for a weekend trip or a multi-day road trip, the same fundamentals apply. For a broader look at what vehicle readiness actually involves, see what road-trip ready actually means for your vehicle.
Don't Skip This If You're Unsure
If you're not comfortable performing any of these checks yourself, have a qualified mechanic inspect the vehicle before a long drive. Many shops offer quick pre-trip inspections. A short service visit is far less disruptive than a breakdown on the highway, and some safety issues — particularly brake problems or tire failures — can have serious consequences if left unaddressed.
What You'll Need
Most of these checks require nothing more than your eyes and your hands. A few basic tools and reference materials will make the process faster and more thorough.
Tire pressure gauge
Accurately reads inflation levels so you can compare against your vehicle's recommended PSI.
Owner's manual
Lists the correct fluid types, capacities, and inspection procedures specific to your vehicle.
Flashlight or work light
Helps you see clearly when checking tires, engine bay fluids, and undercarriage areas in low light.
Clean lint-free rags
Needed for wiping the oil dipstick cleanly before taking a reading.
Coin or tread-depth gauge
Used to quickly assess whether tire tread depth has reached a point of concern.
Windshield washer fluid (appropriate for season)
Allows you to top off the reservoir and verify the system works during your inspection.
The Full Pre-Trip Checklist
Work through each group in order. Tires and fluids should always come first since they have the longest lead time if a problem is found and a shop visit becomes necessary.
Tires
Fluids
Lights and Signals
Wipers and Visibility
Brakes and Belts
Emergency Kit
Active Warning Lights Mean Stop and Investigate
Do not ignore an illuminated check-engine, brake-system, tire-pressure, or temperature warning light on your departure day. Some warning lights indicate conditions that are safe to monitor briefly; others require immediate attention before driving. When in doubt, consult your owner's manual or a mechanic — not a search engine — for guidance specific to your vehicle and the light in question.
If your dashboard shows any active warning lights before departure, address them before driving. For help decoding what they mean, refer to what your dashboard warning lights are actually telling you. Visibility checks are especially important if you'll be driving after dark — night driving visibility and the limits of your headlights covers how headlight range affects stopping distances.
Before You Pull Out of the Driveway
Once the mechanical checks are done, take a moment to confirm your in-cabin readiness. Make sure your phone is mounted or stowed safely, navigation is set before you're moving, and your mirrors are adjusted. If you're travelling with children, confirm that car seats are correctly installed and harnesses are snug — for more on managing long family drives safely, see travelling with children on long drives.
Pair this vehicle check with a solid emergency kit. What to pack in your car for a multi-day road trip covers the supplies experienced road trippers keep on hand. And if adverse weather is in the forecast, review driving in fog, ice, and heavy rain before you go.
Finally, plan your rest stops ahead of time. Driver fatigue is a leading factor in highway incidents — rest stops, naps, and driver fatigue explains how to structure breaks for sustained alertness on longer drives.