

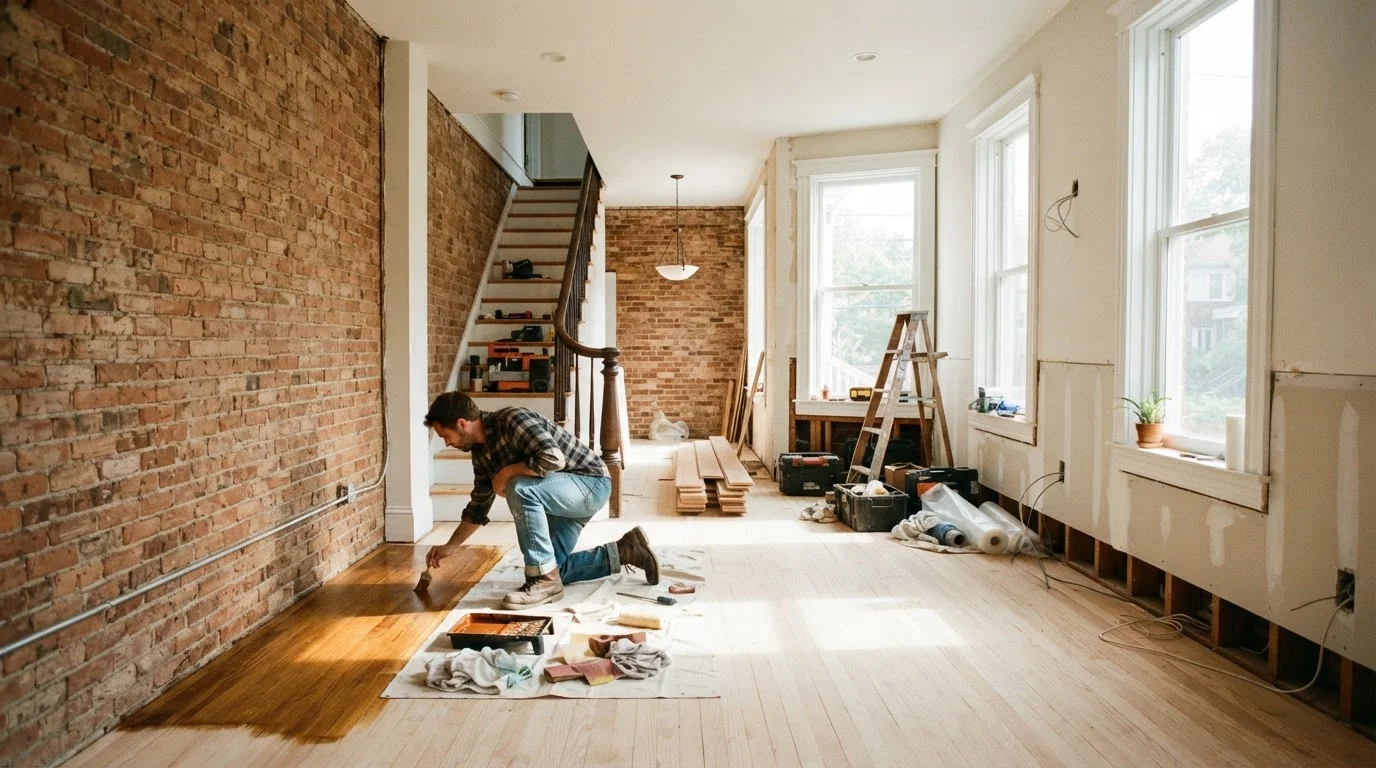
Key Takeaways
- A professional inspection before any work begins reveals hidden hazards and structural issues.
- Safety concerns — lead paint, asbestos, outdated wiring — must be addressed before cosmetic work starts.
- Renovation sequencing matters: structure before systems, systems before finishes.
- Many older-home projects require permits; skipping them can create legal and insurance problems.
- Budget a contingency of 15–20% above your estimate to cover surprises inside walls and floors.
- Finishing and decorating decisions are best made after structural and mechanical work is complete.
Understand What You're Working With
Before lifting a hammer, invest in a thorough pre-renovation assessment. A licensed home inspector — and, for homes built before 1980, potentially a specialist in environmental hazards — can document what exists behind walls and beneath floors. This step frequently changes project scope and budget in ways that protect you later.
Key areas to document during your initial assessment:
- Foundation and structure: Look for settlement cracks, bowing walls, or sagging floors. These indicate whether you're dealing with normal aging or active structural problems.
- Roof and envelope: Aging roofing, failing flashing, or deteriorated siding can allow moisture intrusion that affects everything downstream.
- Mechanical systems: Note the age and condition of the electrical panel, plumbing supply and drain lines, and HVAC equipment.
- Original materials: Older homes often contain salvageable character — original hardwood, plaster walls, period millwork — worth preserving where possible.
Run through the pre-work checklist before your first contractor conversation so you arrive informed.
~53%
US homes built before 1980
According to US Census Bureau housing data, more than half of the country's housing stock predates 1980, making older-home considerations relevant to a majority of homeowners.
15–20%
Recommended renovation contingency budget
Industry guidance from renovation professionals consistently advises adding 15–20% above the base estimate to account for hidden conditions in older homes.
1978
Year lead paint was banned in US housing
The Consumer Product Safety Commission banned lead-based paint for residential use in 1978; homes built before this date may still contain it.
Identify and Address Safety Hazards First
Homes built before 1978 may contain lead-based paint; those built before the mid-1980s may also contain asbestos in insulation, floor tiles, or roofing materials. Disturbing either without proper protocols creates serious health risks.
Do Not Disturb Unknown Materials Without Testing
In homes built before the mid-1980s, sanding, drilling, or demolishing surfaces without prior testing for lead and asbestos can release harmful particles into the air. Both hazards require professional assessment and — where present in a disturbed condition — licensed abatement. This is not optional, and it is not a cost to defer. Protecting occupants and workers during renovation is a legal and ethical requirement.
Standard protocols for each hazard type:
- Lead paint
- A certified lead inspector or risk assessor can test surfaces. Encapsulation (covering intact painted surfaces) is sometimes acceptable; full abatement requires a licensed contractor following EPA RRP (Renovation, Repair, and Painting) rules.
- Asbestos
- Do not sand, drill, or disturb suspected asbestos-containing materials. A licensed asbestos inspector collects samples for lab analysis; abatement or encapsulation is performed by a certified professional.
- Outdated wiring
- Knob-and-tube or aluminum branch-circuit wiring, and panels with known safety defects, should be evaluated by a licensed electrician before any renovation begins. This is not a DIY determination.
- Galvanized or lead supply pipes
- Older plumbing may deliver discolored water or degrade water quality. A licensed plumber can assess pipe condition and advise on replacement priorities.
When assessing older plumbing, run water in every fixture for several minutes and check both water color and pressure drop — early signs of corroding galvanized pipes often show up before a formal inspection catches them.
Galvanized steel pipes corrode from the inside out, and visible rust or pressure loss are reliable early indicators that replacement should be prioritized in the renovation budget.
Before finalizing your renovation sequence, walk through the home with your electrician and plumber together — not separately — so they can coordinate penetrations, panel location, and access points before either trade begins rough-in work.
Mechanical trades working independently in older homes with limited wall cavities frequently create conflicts that require expensive rework; a joint walkthrough eliminates most of these before they occur.
Plan Your Renovation Sequence
Order of operations is one of the most common places older-home renovations go wrong. Finishing a room before the mechanical work behind its walls is complete means tearing it apart again — at double the cost and disruption.
Follow this general sequencing framework:
- Structural repairs first. Foundation, framing, roof, and exterior envelope work comes before anything else. Water intrusion or structural movement will undo every cosmetic improvement.
- Rough mechanical work second. Electrical, plumbing, and HVAC rough-ins happen while walls are open. This is also when insulation upgrades are most cost-effective.
- Inspections and close-up. Required inspections occur before walls are closed. Skipping this step can require reopening finished walls later.
- Insulation and drywall. Once mechanical rough-ins pass inspection, insulate and hang drywall or repair plaster.
- Interior finishes. Flooring, cabinetry, tile, and trim come next, in an order that protects earlier work (e.g., flooring before cabinets in most cases).
- Painting and fixtures last. Paint walls after dusty trades finish; install lighting, plumbing fixtures, and hardware at the very end to prevent damage.
Planning your lighting layout during the rough electrical phase — not after drywall is up — gives you far more flexibility.
Navigating Permits and Professionals
Older homes almost always require permits for structural, electrical, plumbing, and HVAC work. Requirements vary by municipality, but the consequences of skipping permits — failed home sale inspections, voided insurance claims, required demolition of unpermitted work — are consistent and serious.
Unpermitted Work Can Create Lasting Legal Problems
Completing work without required permits can complicate or block a future home sale, void portions of your homeowner's insurance coverage, and — in some jurisdictions — require the work to be demolished and redone at your expense. Always confirm permit requirements with your local building department before work begins, and ensure your contractor pulls the appropriate permits rather than working around them.
When hiring contractors for an older home specifically, ask:
- Have they worked on homes of this era and construction type before?
- Are they licensed and insured in your state, with current coverage you can verify?
- Can they pull the required permits, and will inspections be scheduled?
- Do they have experience with the specific hazard abatement your home requires?
For a thorough overview of which projects typically require permits and how the process works, see the companion article on home renovation permits.
Budgeting for the Unexpected
Every experienced contractor working on older homes will tell you the same thing: the budget you set before opening walls is a starting point, not a ceiling. Hidden rot, outdated wiring that extends further than anticipated, or plumbing that hasn't been touched in 60 years are common discoveries once work begins.
Practical budgeting guidelines for older-home renovations:
- 15–20% contingency: Add this to your total estimated cost before work begins. Treat it as already spent in your planning — any portion not needed is a welcome surplus.
- Phase if necessary: It is financially sounder to complete one room or system correctly than to stretch budget thin across the whole house and cut corners.
- Prioritize by consequence: Deferred maintenance on roofing, waterproofing, and structural elements costs more the longer it waits. Cosmetic upgrades can wait; moisture intrusion cannot.
- Get multiple bids: For significant scopes of work, compare detailed written bids — not just bottom-line numbers, but what is and is not included.
This article provides general guidance only. For advice tailored to your specific financial situation, consult a qualified financial professional.
Finishing and Decorating After the Heavy Work
Once structural, mechanical, and safety work is complete and inspected, you can approach finishing with confidence — knowing the bones of your home are sound. This is the phase where an older home's character can genuinely shine.
A few principles worth carrying into the finish phase:
- Audit each room before spending on décor. The room audit checklist helps you assess lighting, traffic flow, and storage before committing to purchases.
- Match new finishes to original character where possible. Period-appropriate trim profiles, hardware, and flooring choices preserve resale value and visual coherence.
- Address lighting intentionally. Older homes often have limited outlet and fixture locations; the renovation phase is your opportunity to correct that. Plan ambient, task, and accent layers before selecting fixtures.
- Take your time with décor decisions. If you're moving into the home, living in the space for a few months before making major decorating commitments often produces better results. For a grounded starting point, the guide on decorating from scratch offers a practical framework for building a cohesive scheme over time.