

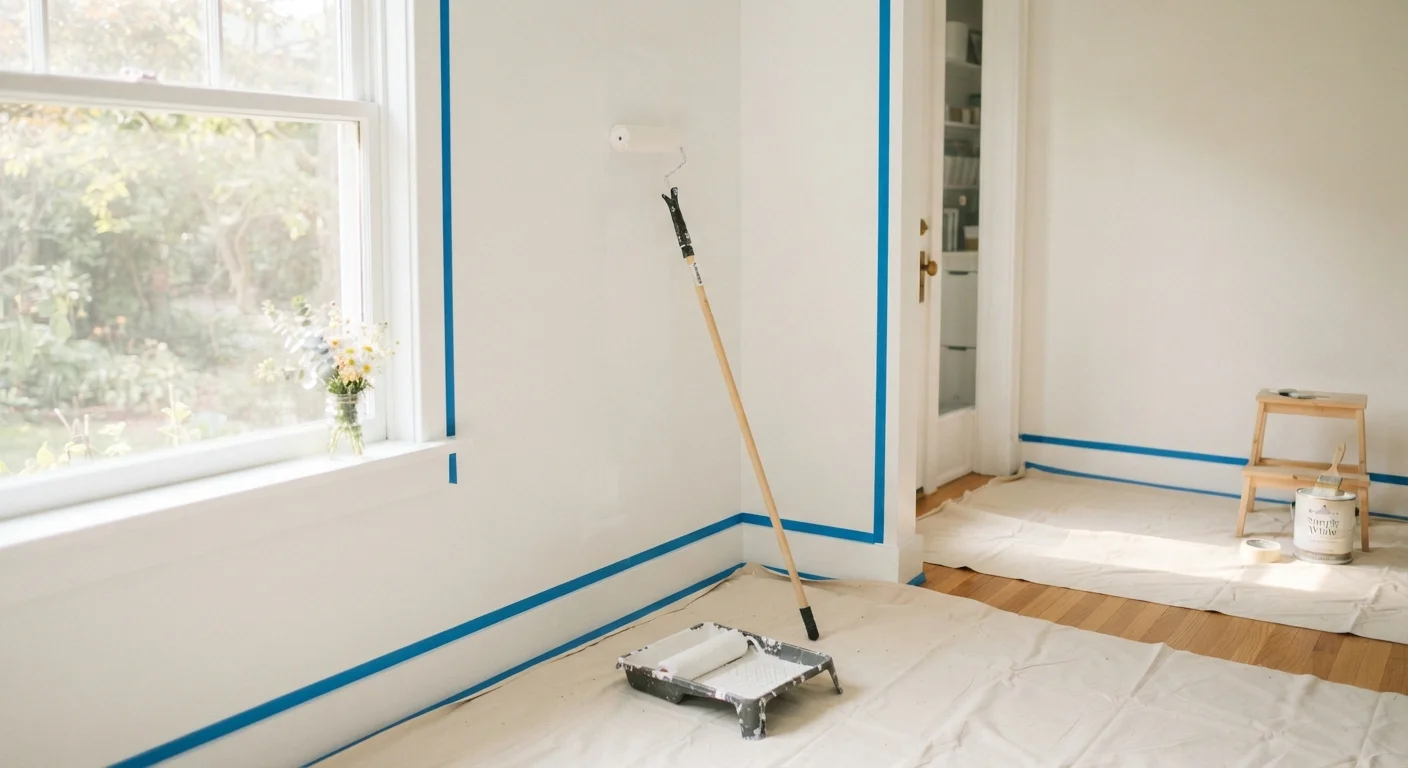
Key Takeaways
- Cleaning walls thoroughly before painting prevents adhesion failures and visible imperfections.
- Applying painter's tape carefully along trim and edges keeps lines crisp and cleanup minimal.
- Priming bare or patched surfaces ensures even color coverage and better paint durability.
- Rolling paint in overlapping W or M strokes distributes coverage evenly and eliminates streaks.
- Allowing proper drying time between coats produces a smoother, longer-lasting finish.
What you will need
Why Preparation Determines the Outcome
A great paint job is built on preparation, not just paint. Skipping or rushing the prep steps — cleaning, patching, taping — is the leading cause of uneven coverage, peeling, and visible imperfections. Professional painters routinely spend more time preparing a room than they do actually painting it, and the result shows.
Before you select a color, it helps to evaluate the room itself. Our room audit checklist walks through lighting, traffic flow, and condition of existing surfaces — useful context before picking up a brush. Once you have a color in mind, consider sheen: our guide to flat, eggshell, and satin paint finishes explains which sheen level suits each room's needs.
Drop cloths
Protect floors and furniture from drips and spills during painting.
Painter's tape
Mask trim, ceilings, outlets, and edges for clean, sharp paint lines.
Spackle or joint compound
Fill nail holes, cracks, and minor wall imperfections before painting.
Fine-grit sandpaper (120–220 grit)
Smooth patched areas and lightly scuff glossy surfaces for better paint adhesion.
Paint roller and extension pole
Apply paint efficiently and evenly across large wall surfaces.
Angled paintbrush (2–2.5 inch)
Cut in paint along edges, corners, and trim where rollers cannot reach.
Primer
Seal bare drywall, patched spots, or dark existing colors before topcoat application.
Paint tray with liner
Hold and evenly load paint onto the roller during application.
Setting Up for a Cleaner Job
One of the biggest sources of mess during painting is inadequate protection of surrounding surfaces. Canvas drop cloths are more durable and repositionable than plastic sheeting, which tends to bunch and slide. Keep a small container of water nearby for latex paint cleanup, and avoid overloading the roller or brush — excess paint is the primary cause of drips and splatter.
Keep a Wet Edge at All Times
Allowing one section to dry before blending into the next creates visible overlap marks that are difficult to correct. Work efficiently in manageable sections, and if you need a break, stop at a corner or natural break point rather than mid-wall. Returning to a fully dried edge almost always leaves a line.
Ventilate the room throughout the project by opening windows or running a fan directed toward an open door. Good airflow speeds drying time and reduces exposure to paint fumes. If you are painting a room with wallpaper you are considering replacing, see our comparison of paint versus wallpaper to help you decide whether painting is the right approach for that space.
Ventilate Properly — Especially in Small Rooms
Even low-VOC paints release fumes that can cause headaches or dizziness in poorly ventilated spaces. Keep windows open and take breaks in fresh air. If anyone in your household has respiratory sensitivities or you are painting a nursery, consult with a healthcare professional about appropriate precautions before starting the project.
Following the Steps for a Professional Finish
The steps below follow a logical order that minimizes rework and keeps mess contained. Complete each stage fully before moving to the next — patience here pays off in the finished result.
Clear and protect the space
Remove as much furniture as possible. For pieces too heavy to move, push them to the center of the room and cover with drop cloths. Lay canvas or plastic drop cloths on all flooring, overlapping edges at least six inches so drips cannot reach bare floor. Canvas cloths are preferable on hardwood because they lie flat and absorb paint rather than letting it pool.
Clean the walls
Wash walls with a solution of warm water and a small amount of mild dish soap, working from the bottom up to avoid streaks. Pay extra attention to kitchen walls (grease buildup) and areas around light switches (hand oils). Rinse with clean water and let walls dry completely — at least one to two hours — before proceeding. Paint bonds poorly to dirty or greasy surfaces, making this step one of the most important in the process.
Patch imperfections
Use a putty knife to fill nail holes and hairline cracks with lightweight spackle or joint compound. Apply in thin layers, slightly overfilling each hole. Once dry (check the manufacturer's time recommendation), sand smooth with 120–220 grit sandpaper using gentle circular motions. Wipe away dust with a lightly damp cloth or a tack cloth before moving on.
Apply painter's tape
Press painter's tape firmly along the top edge of baseboards, window trim, door frames, and the ceiling line. Use a putty knife or credit card edge to burnish the tape down, sealing the edge tightly so paint cannot bleed underneath. Remove outlet covers and light switch plates and tape around the electrical boxes. Work slowly — rushed taping leads to crooked lines that are difficult to fix after painting.
Prime where needed
Primer is not always required, but it is strongly recommended over bare drywall, repaired patches, stained areas, or when transitioning from a dark color to a light one. Apply primer with the same roller and brush technique you will use for paint. Let it dry fully according to the product label before applying your topcoat. Skipping primer on fresh patches often results in dull spots (known as flashing) that show through the finished coat.
Cut in the edges
Load an angled brush and paint a three- to four-inch band along all edges — corners, ceiling line, trim, and around outlets — before rolling the walls. This technique is called cutting in. Work in two- to three-foot sections so the cut-in paint remains wet when you roll the adjacent wall area; this allows the wet edges to blend seamlessly rather than leaving visible brush marks.
Roll the walls
Load the roller evenly in the paint tray — roll it back and forth on the ridged section to remove excess paint and prevent drips. Apply paint to the wall in a large W or M pattern, then fill in the open areas with parallel strokes without lifting the roller. Overlap each pass by about 30% to eliminate lap marks. Work in sections of roughly three feet wide from ceiling to floor, always keeping a wet edge. Apply a second coat after the first has dried according to label instructions — usually two to four hours for latex paints.
If this is part of a larger first-home decorating project, the broader guide to decorating your first home offers useful context on sequencing room updates over time.