

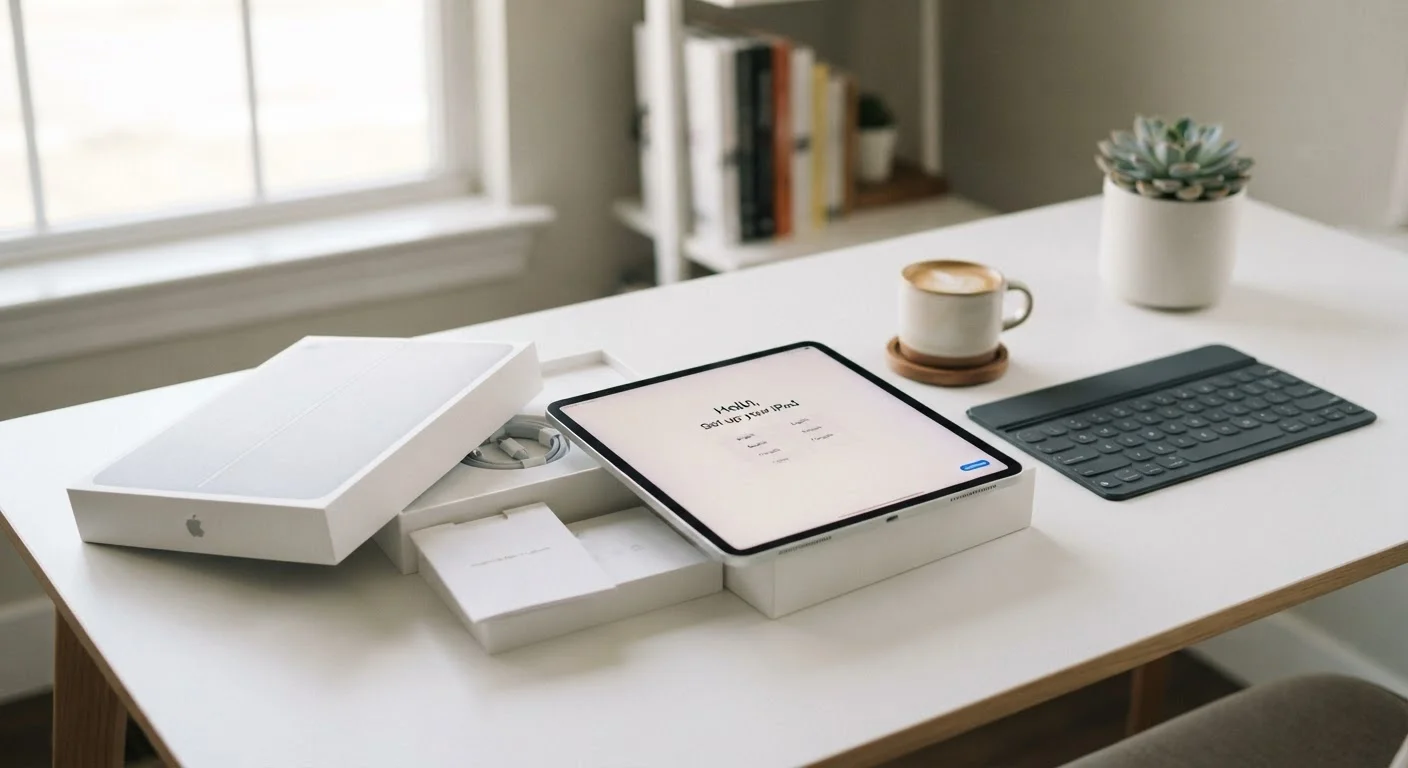
Key Takeaways
- Charging your tablet fully before setup prevents interruptions mid-configuration.
- Using an existing account speeds up setup, but a fresh account offers more privacy control.
- Privacy and location settings deserve careful attention during setup, not after.
- Enabling automatic updates and two-factor authentication early protects your device long-term.
- Skipping the account backup step is one of the most common — and costliest — beginner mistakes.
What you will need
Before You Power It On
Unboxing a new tablet is satisfying, but powering it on immediately is the step most people later regret. Taking five minutes of preparation beforehand makes the entire setup smoother and helps you avoid having to repeat steps.
First, leave the tablet on charge until it reaches 100%. Many devices ship with a partial charge, and a low battery mid-setup can force an abrupt pause or restart. While it charges, gather what you'll need nearby.
What you will need
Charging cable and adapter
Ensures the tablet reaches full charge before setup begins, preventing interruptions.
Wi-Fi network credentials
Required to connect during setup and download any initial updates.
Account login credentials
Needed to sign in to or create the account that ties your apps, purchases, and backups together.
Authenticator app
Used to set up two-factor authentication for your account as part of securing the device.
Account Setup and the Choices That Actually Matter
Once powered on, the device will guide you through a series of on-screen prompts. The most consequential decision comes early: signing in with an existing account versus creating a new one. Signing in with an account you already use — such as a Google or Apple ID — carries over settings, purchased apps, and contacts automatically. Creating a fresh account gives you a clean slate and more control over what data the device associates with you from day one.
Whichever you choose, this is also the right moment to make sure your account has strong security in place. Two-factor authentication, for instance, is far easier to enable now than to retrofit later. See our guide to setting up two-factor authentication for a step-by-step walkthrough across common apps.
Your Account Password Is the Master Key
The account you link to your tablet controls access to purchases, backups, and personal data. If this account is compromised, everything on — and synced from — your tablet is at risk. Use a password you don't use anywhere else, and enable two-factor authentication before completing setup.
Privacy and Permissions: The Section People Rush Through
Setup wizards are designed to move quickly, but the permissions screens buried inside them have lasting consequences. Location access, ad personalisation, diagnostic data sharing, and app permissions all get configured during this phase — often by tapping "Accept" without reading. Take a moment on each screen.
As a general principle: grant location access only to apps that genuinely need it, turn off ad personalisation if you prefer not to have your usage tracked for advertising purposes, and opt out of sending diagnostic data if you'd rather keep device behaviour private. These settings can be revisited later, but it's faster to get them right the first time. For a deeper look at what's worth reviewing, our privacy settings walkthrough covers the controls most people overlook.
Take a Screenshot of Your Settings
After completing setup, navigate to your Privacy and Location settings and take a screenshot of what you've chosen. This creates a quick reference if you ever want to review what you agreed to — or share the configuration with a family member setting up a similar device.
Charge to 100% before starting
Connect the tablet to power and wait until it is fully charged. Most tablets display a battery percentage on the lock screen or a charge indicator light. Do not begin setup until you reach 100%.
Select your language and region
Power on the device and follow the initial prompts to choose your language and region. Selecting the correct region ensures that app availability, date formats, and keyboard defaults match your location.
Connect to Wi-Fi
Select your home network from the list and enter the password. A stable connection is required to sign in to your account, download updates, and restore any previous backups. Avoid using a public or shared network for this step.
Sign in to or create your account
Enter your existing account credentials or follow the prompts to create a new account. If signing into an existing account, you may be asked to verify your identity through a code sent to your phone or email — have that device nearby.
Review privacy and permissions screens carefully
Read each permissions screen before tapping through. Key decisions include location access, ad personalisation, and diagnostic data sharing. Choose settings that reflect your actual preferences rather than accepting defaults automatically.
Set up a screen lock
Choose a PIN, password, pattern, or biometric method (such as fingerprint or face recognition) to lock your screen. A screen lock is one of the most basic protections for your data if the device is lost or left unattended.
Enable automatic updates and backup
In the device settings, turn on automatic software updates so security patches are applied without manual steps. Also configure a backup destination — either a cloud service linked to your account or a local backup to a computer — so your data is recoverable.
After Setup: Getting Organised for the Long Term
Once the core setup is complete, a few final steps keep your tablet running well over time. Enable automatic software updates so security patches install without requiring manual action. Set up a backup — whether to a cloud account or a computer — so your data is protected if something goes wrong. And consider which apps you actually plan to use before installing everything at once; a cluttered home screen makes the device harder to navigate and can slow performance.
If you're thinking about using your tablet as part of a broader household tech setup, our article on managing a household full of devices covers the recurring organisational mistakes worth avoiding. And if note-taking is one of your intended uses, our guide to note-taking apps is a practical next step.