

Key Takeaways
- Subfloor flatness and rigidity matter more than any tile or adhesive choice.
- Dry-laying tiles before mortaring prevents costly layout mistakes and awkward cuts.
- Grout timing and cure time directly affect how long your tile floor lasts.
- Expansion gaps at walls and transitions are essential — skipping them causes cracking.
- Manufacturer instructions assume ideal conditions that most homes don't actually have.
Why Tile Instructions Only Tell Half the Story
Tile installation guides focus on their product — adhesive coverage rates, tile spacing, grout selection. What they rarely address is everything that has to go right before the first tile is set. Subfloor condition, room geometry, layout planning, and environmental factors all determine whether your floor holds up for decades or starts cracking within a year.
The good news: these gaps are entirely bridgeable once you know what to look for. This guide covers the critical preparation and technique details that manufacturer instructions routinely leave out.
3/16"
Maximum subfloor variation per 10-foot span
This flatness standard is defined by the Tile Council of North America for standard tile installations.
24–48 hrs
Minimum thinset cure time before grouting
Most modified thinset manufacturers recommend this window; actual time varies by product, temperature, and humidity.
Subfloor Prep: The Most Skipped Step
Tile is unforgiving of movement. If your subfloor flexes, shifts, or has high spots and low spots, the mortar bond will eventually fail — and tiles will crack or pop loose. Most installation guides say "ensure subfloor is clean, flat, and dry" without explaining what that actually requires.
- Flatness standard: The industry benchmark for tile installation is no more than 3/16 inch of variation over a 10-foot span (or 1/8 inch over 2 feet for large-format tiles). Use a long straightedge to check.
- High spots: Grind or sand them down. Low spots greater than your tolerance need floor-leveling compound, not extra mortar.
- Rigidity: Bounce test every area by walking it firmly. Any flex means the subfloor is too thin or the joists below need reinforcement. A common fix for wood subfloors is adding a layer of cement backer board — this also protects against moisture wicking.
For more on how subfloor layers interact with flooring systems, see our guide to underlayment options — while it focuses on laminate and hardwood, the subfloor principles carry over.
Test for Moisture Before You Start
Concrete subfloors can have residual or ongoing moisture that defeats adhesive bonds. Tape a 2-foot square of plastic sheeting to the concrete for 24 hours — moisture condensation underneath indicates a problem. Addressing moisture now is far easier than dealing with failed tile later.
Layout Planning: Dry-Lay Before You Commit
Never start tiling from a wall. Walls are almost never perfectly straight, and beginning from one almost always results in slivers of cut tile in the most visible spots. Professional tile setters always establish a center point and work outward.
Find the visual center of the room, not the geometric center
The eye naturally goes to the most prominent wall or focal point — often the wall directly opposite the entrance. Centering your layout on this visual anchor makes the room look intentional even when tiles aren't perfectly symmetrical.
Snap chalk lines in both directions to create a true square reference grid
A single line gives you one axis of control. Two perpendicular lines — verified with a 3-4-5 triangle or a large framing square — establish a grid that keeps your entire floor square regardless of wall imperfections.
Account for grout joint width consistently in your dry layout
Skipping spacers during the dry-lay gives you an inaccurate picture of where tiles and cuts will land. Even 1/16 inch of variation compounds over dozens of tiles.
Plan cuts so that no visible edge has a piece smaller than half a tile
Narrow cut slivers at walls and doorways look unfinished and are structurally weak. Shifting your starting point even a few inches can eliminate these entirely.
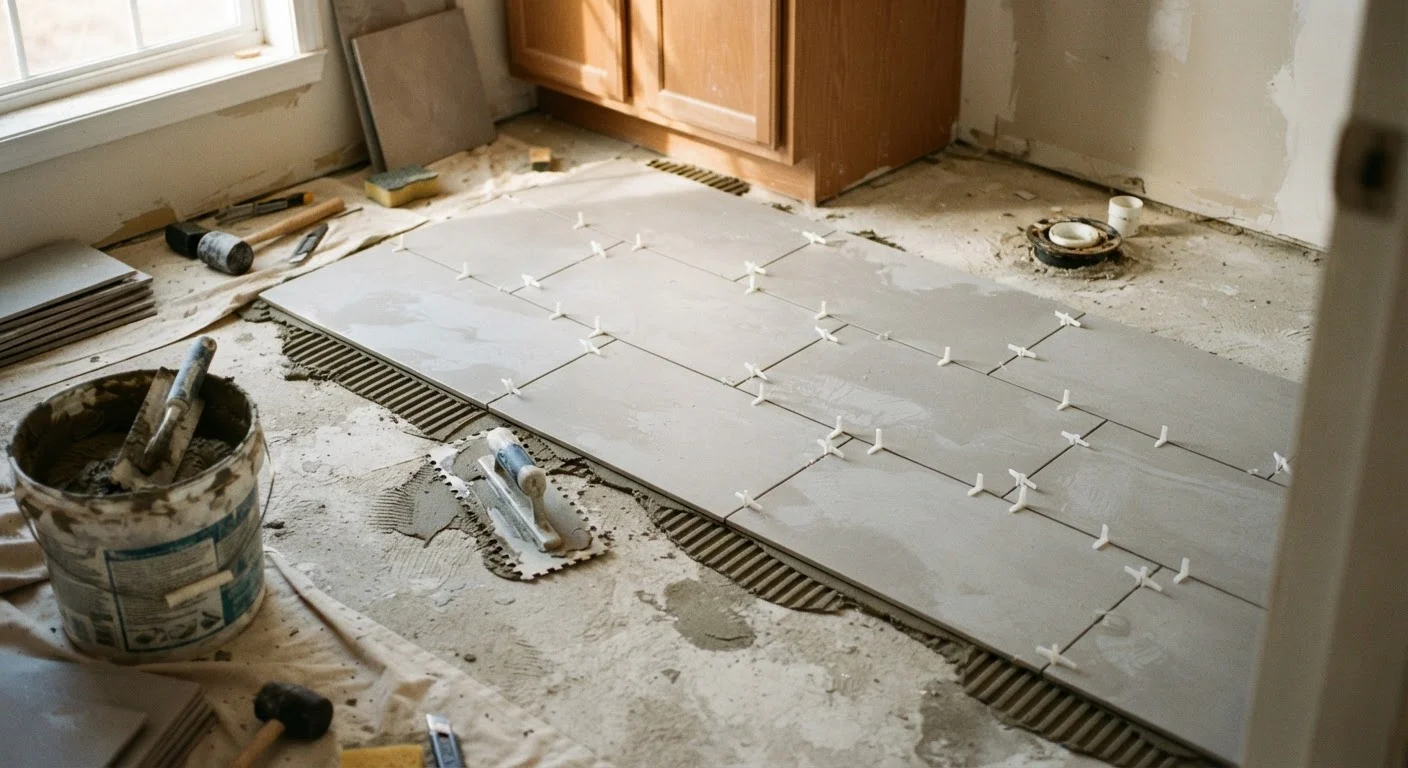
A dry run — laying tiles across the floor without adhesive — takes an extra hour and saves significant rework. It reveals exactly where cuts will fall and lets you shift the layout to avoid awkward narrow pieces at doorways or focal walls.
Mortar, Timing, and Grout: Where Projects Unravel
Two timing mistakes account for a large share of failed DIY tile jobs: rushing the mortar cure and grouting too soon.
Modified thinset mortar — the standard choice for most tile types — needs to fully cure before grouting. This typically means 24 hours minimum, though some products or conditions call for longer. Walking on tiles too early or grouting before the mortar sets can break the bond without any visible sign until tiles start lifting weeks later.
When mixing grout, follow the manufacturer's water ratios precisely. Too much water weakens grout and causes uneven color. After applying grout, keep foot traffic off the floor for at least 24 hours and avoid wet mopping for 72 hours or more — check your specific product's guidelines.
Epoxy Grout Behaves Differently
If you're using epoxy grout — common in wet areas and commercial settings — the working time is significantly shorter than cement-based grout, and technique is more demanding. Epoxy grout also requires different cleaning methods during installation. If this is your first tile project, cement-based grout is more forgiving while you develop your technique.
Expansion Gaps and Transitions: Small Details, Big Consequences
Tile expands and contracts slightly with temperature and humidity changes. Without space to accommodate this movement, tiles push against each other and against walls — eventually causing cracking or grout failure. Leave a 1/4-inch gap around the perimeter of the room where tile meets walls or cabinets. This gap will be hidden by baseboards or trim.
At transitions to other flooring types, use a proper transition strip rather than running tile tight to the adjacent material. These strips also protect tile edges, which are a common chipping point. Grout is not a substitute for expansion joints in larger rooms; if you're tiling a space larger than roughly 20–25 feet in any direction, consult a tile professional about where movement joints are needed.
“Tile failure is almost always a substrate problem, not a tile problem. The floor above is only as good as what's beneath it.”
— Tile Council of North America, Industry standards organization for the North American tile installation trade