

Key Takeaways
- Small holes under ½ inch can be filled with lightweight spackling in one application.
- Medium holes between ½ inch and 6 inches need mesh tape or a backing patch for structural support.
- Large holes require a wood-backed drywall cutout or California patch for a lasting repair.
- Allow each coat of joint compound to dry fully before sanding to avoid shrinkage cracks.
- Feathering compound edges and priming before painting are essential for an invisible finish.
What you will need
Understanding Drywall Damage and Which Repair Applies
Drywall damage falls into three broad categories, and choosing the wrong repair method for the size of the hole is the most common reason patches fail or look uneven. Small holes — nail pops, picture-hook punctures, and minor dents under ½ inch — need nothing more than spackling compound and a putty knife. Medium holes up to about 6 inches across, often left by doorknobs, anchors, or minor accidents, require a reinforcing mesh to bridge the gap before compound is applied. Large holes over 6 inches need a structural solution: a wood-backed patch or a California patch that restores rigidity to the wall panel.
Before gathering materials, check what's inside the wall. Electrical cables, plumbing pipes, and HVAC ducts are common in interior walls, and cutting blindly into a wall cavity without verifying clearance is dangerous. Use a stud finder with AC wire detection and, if you are uncertain, consult a qualified professional before proceeding. If the damage is near plumbing — a situation that sometimes leads homeowners here from a repair like those covered in weekend plumbing tasks you can safely handle yourself — be especially cautious about cutting.
What you will need
Putty knife or drywall knife (4–6 inch)
Applies and feathers joint compound smoothly over patches.
Drywall saw or utility knife
Cuts clean edges around damaged drywall for medium and large patch repairs.
Self-adhesive mesh drywall tape
Reinforces seams on medium-sized patches to prevent cracking.
Lightweight joint compound (pre-mixed)
Fills, smooths, and feathers patches to blend with surrounding wall surface.
Sandpaper (120-grit and 220-grit)
Smooths dried compound between coats and provides a paint-ready surface.
Drywall screws and scrap lumber (1×3 or 2×4)
Creates a solid wood backing behind large drywall cutouts for secure attachment.
Primer
Seals the repaired surface so paint adheres evenly without flashing.
Step-by-Step Drywall Patching Instructions
Follow these steps in order, choosing the method that matches your hole size. Each stage builds on the last — skipping steps, especially drying time, is the most frequent cause of a patch that cracks or telegraphs through fresh paint.
Assess and prepare the damaged area
Run your hand over the damage and determine which repair method applies. For nail pops and holes under ½ inch, no cutting is needed. For medium holes (½ inch to 6 inches), you will need mesh tape and compound. For large holes over 6 inches, plan to cut back to studs or install wood backing. Remove any loose paper facing or crumbling drywall edges with a utility knife before proceeding — a clean edge bonds better than a ragged one.
Repair small holes with spackling
Apply a small amount of lightweight spackling compound directly into the hole using a putty knife. Press it in firmly, then draw the blade flat across the surface to remove excess. For nail holes or very small dings, a single application is usually sufficient. Allow the compound to dry completely according to the product's drying time guidance — it will lighten in color when ready. Sand lightly with 220-grit sandpaper until flush.
Apply a mesh patch for medium holes
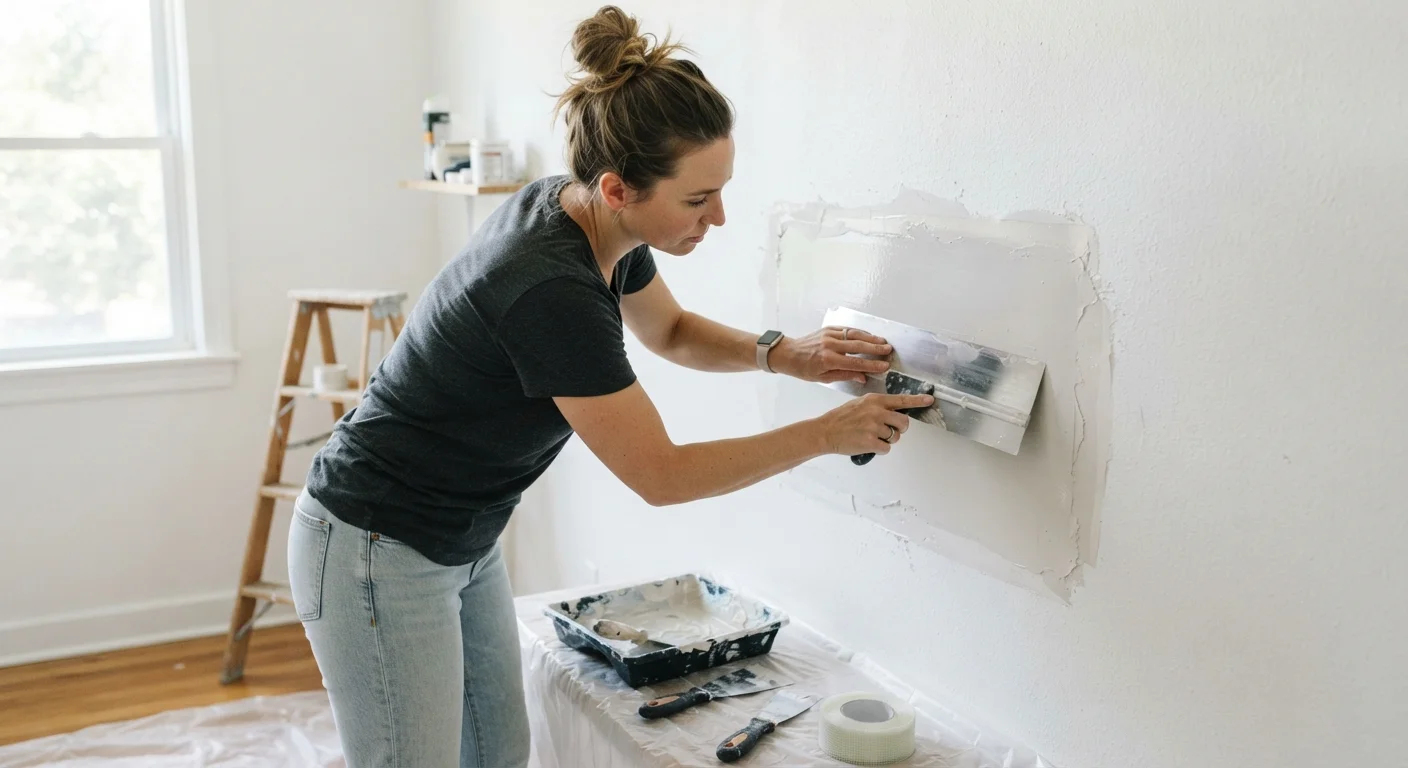
For holes between ½ inch and roughly 6 inches, use a self-adhesive mesh drywall patch or apply self-adhesive mesh tape over the opening. Center the mesh squarely over the hole. Using a 6-inch drywall knife, spread a thin first coat of pre-mixed joint compound over the mesh, pressing it into the grid and feathering the edges several inches onto the surrounding wall. Let this coat dry fully — typically 24 hours in normal indoor conditions — before applying a second coat.
Cut and back large holes
For holes larger than 6 inches, use a drywall saw to cut the damaged section into a clean rectangle or square. Cut two pieces of 1×3 or 2×4 lumber slightly longer than the hole's height and slide them into the opening so they overlap both edges of the hole. Drive drywall screws through the existing drywall into the lumber on each side to anchor the backing. Cut a piece of new drywall to fit the opening exactly, then screw it into the wood backing. Apply mesh tape over all four seams and proceed with joint compound in thin coats.
Apply and feather multiple coats of joint compound
After the first coat dries, lightly sand with 120-grit sandpaper to knock down ridges, then wipe away dust with a damp cloth. Apply a second coat, feathering the edges 2–3 inches beyond the first coat. Repeat with a third coat if needed, feathering even wider each time. The goal is a smooth transition where the patch becomes indistinguishable from the surrounding wall. Finish with a light pass of 220-grit sandpaper.
Prime and paint the patched area
Apply a coat of drywall primer over the repaired area and let it dry fully. Priming is non-negotiable: unprimed compound absorbs paint differently than the surrounding wall, creating a visible dull spot called flashing. Once primed, paint the patch and blend into the surrounding wall. For best results, roll the entire wall panel rather than painting just the patch. See our guide to painting a room without the mess for surface prep and application tips that will make the finished result seamless.
Match Your Texture Before Painting
Most interior walls have a subtle texture — orange peel, knockdown, or light skip trowel — that plain joint compound does not replicate. Before priming, lightly stipple wet compound with a sponge or use a spray texture can to approximate the surrounding finish. Test on a scrap piece of drywall first to match the pattern before applying it to the wall.
Once the patch is complete and the paint is dry, consider how the repaired wall fits into the room's overall feel. If you are refreshing a corner or alcove that was previously damaged, our article on styling corners, alcoves, and awkward nooks has practical ideas for turning those spaces into purposeful design features rather than afterthoughts.