

Key Takeaways
- Successful composting requires a balanced mix of nitrogen-rich 'greens' and carbon-rich 'browns'.
- Most kitchen scraps and yard waste can be composted; meat, dairy, and oily foods should be avoided.
- Regular turning and adequate moisture dramatically speed up the decomposition process.
- Finished compost improves soil structure, water retention, and nutrient availability for plants.
- Even apartment dwellers can compost using small indoor bins or vermicomposting methods.
What you will need
Why Composting Is Worth the Effort
Composting transforms organic waste that would otherwise fill a landfill into a genuinely valuable soil amendment. The result — often called humus — improves drainage in clay soils, boosts water retention in sandy soils, and feeds soil biology that plants depend on. Understanding its role connects directly to the broader topic of soil health, which is arguably the most important factor in any successful garden.
Beyond garden benefits, composting diverts a significant portion of household waste. The US Environmental Protection Agency estimates that food scraps and yard trimmings together make up a large share of what goes to landfills — material that, when landfilled, produces methane rather than contributing to productive soil. Home composting is one of the more direct ways a household can close that loop.
The process itself is straightforward: microorganisms, fungi, and invertebrates break down organic material when given the right balance of nitrogen, carbon, moisture, and air. Your job as a composter is mostly to provide those conditions and be patient.
Speed Things Up Naturally
Chop or shred materials into smaller pieces before adding them to the pile. Smaller particle sizes dramatically increase the surface area available to decomposers, cutting your composting time in half. A simple garden fork or even scissors works well for kitchen scraps.
Setting Up, Managing, and Using Your Compost
Before you start, gather what you need and familiarise yourself with what goes in — and what stays out.
What you will need
Compost bin or pile enclosure
Contains material, retains moisture and heat, and keeps the pile tidy.
Garden fork or pitchfork
Turns and aerates the compost pile to speed decomposition.
Kitchen scrap collector (small lidded container)
Collects vegetable peels and other organic scraps at the counter before transferring to the bin.
Garden hose or watering can
Adds moisture when the pile becomes too dry.
Compost thermometer
Monitors internal pile temperature to confirm active decomposition is occurring.
Never Compost These Materials
Avoid adding meat, fish, bones, dairy products, oily or greasy foods, pet waste, or diseased plants to your compost pile. These materials attract pests, create odor problems, and can introduce pathogens into your finished compost. Stick to plant-based kitchen scraps and untreated yard waste for safe, effective results.
Choose and Set Up Your Composting System
Select a method suited to your space. Homeowners with yards can use an open pile, a DIY wooden bin, or a purchased tumbler. Those with limited outdoor space can use a compact sealed bin on a patio. Apartment dwellers should consider a countertop worm bin (vermicomposting), which works entirely indoors. Place outdoor bins in a level, partly shaded spot with good drainage, ideally close enough to the kitchen and garden to be convenient.
Gather Your Green and Brown Materials
Greens (nitrogen-rich): vegetable and fruit scraps, coffee grounds and paper filters, tea bags, fresh grass clippings, and plant trimmings. Browns (carbon-rich): dry leaves, cardboard torn into pieces, newspaper, paper bags, straw, and wood chips. Aim for roughly two to three parts browns for every one part greens by volume. Too many greens makes a slimy, smelly pile; too many browns slows things down considerably.
Layer and Build the Pile
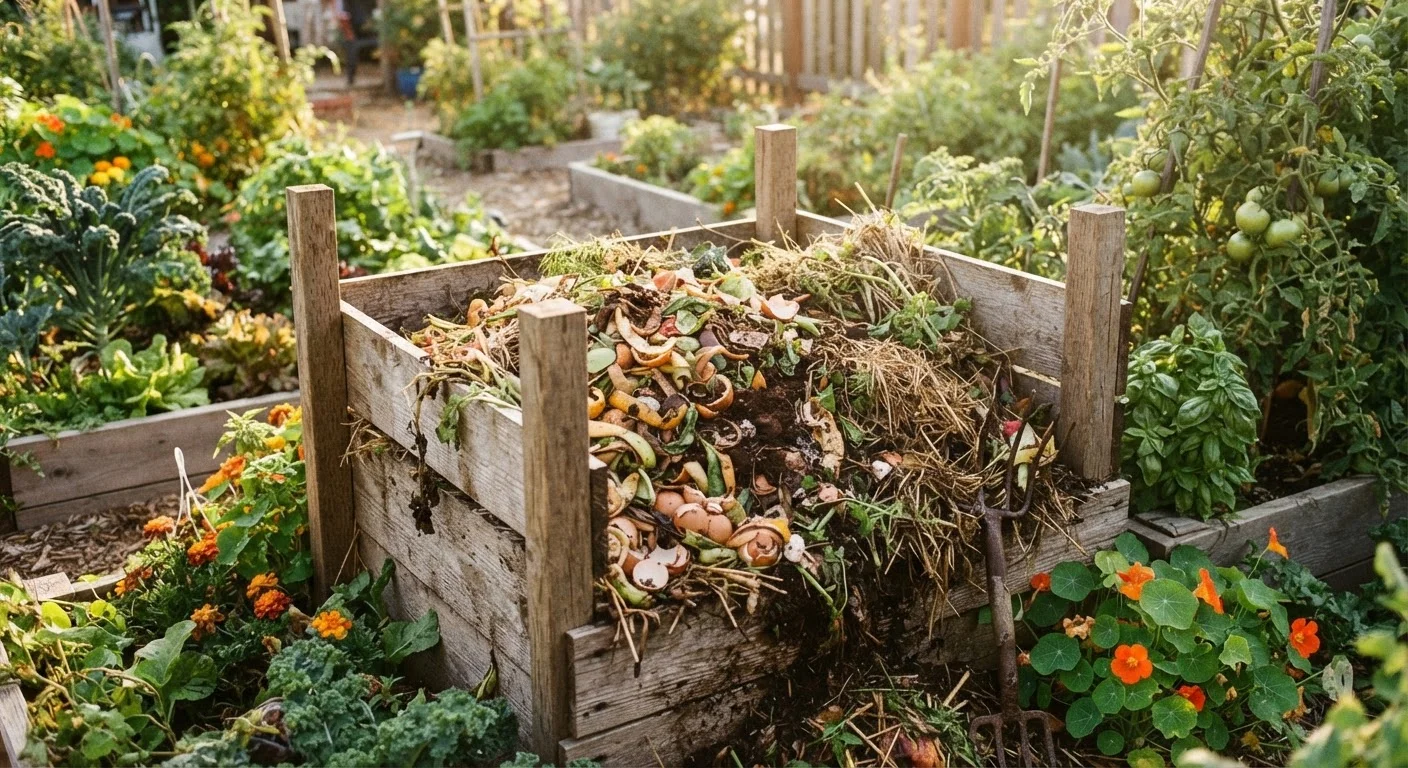
Start with a base layer of coarse browns — like small wood chips or twigs — about 4 inches deep to allow airflow from the bottom. Alternate layers of greens and browns, ending with a brown layer on top to reduce odors and deter pests. Lightly water each layer so the pile feels damp, like a wrung-out sponge, but not waterlogged.
Turn and Monitor the Pile Regularly
Use your garden fork to turn the pile every one to two weeks, moving material from the outer edges toward the center where decomposition is most active. Check moisture levels each time you turn: the pile should be consistently damp. If it smells like ammonia, add more browns. If it smells like rotten eggs, the pile is too wet or compacted — turn it and add dry browns to restore airflow.
Recognize and Harvest Finished Compost
Finished compost is dark brown to black, crumbly, and smells earthy — like forest soil. The original materials should no longer be recognizable. This typically takes two to six months depending on pile size, temperature, and how actively you manage it. Sift out any unfinished chunks and return them to the pile. Use the finished compost to amend garden beds, enrich container potting mixes, or top-dress lawns.
Watch for Pest Attraction
An improperly managed pile — especially one containing cooked food scraps — can attract rodents and insects. Use a bin with a secure lid if pests are a concern in your area, and always bury fresh kitchen scraps under a layer of browns rather than leaving them exposed at the surface.
Once you have a steady supply of finished compost, you can work it into planting areas each season. For gardeners curious about what compost actually does at a soil chemistry level — and how to test whether your soil needs it — the article on soil health fundamentals covers that ground in detail. And if you've encountered advice about adding specific materials like eggshells or coffee grounds in particular ways, it's worth checking what the evidence actually shows before adjusting your approach.