

Key Takeaways
- Grout cracking is usually caused by preventable installation or structural mistakes, not just age.
- Skipping a flexible movement joint in large tile installations is one of the most common causes of failure.
- Regrouting over cracked grout without fixing the root cause will lead to repeated cracking.
- Proper substrate preparation and curing time are critical for long-lasting grout.
- Hairline cracks at tile corners often point to subfloor flex, not just grout quality.
Why Grout Fails: The Real Story
Cracked grout is one of the most common complaints homeowners face after a tile project — and one of the most misunderstood. Most people assume it's simply a sign of aging or poor-quality materials. In reality, grout cracking almost always traces back to a preventable mistake made during installation or planning.
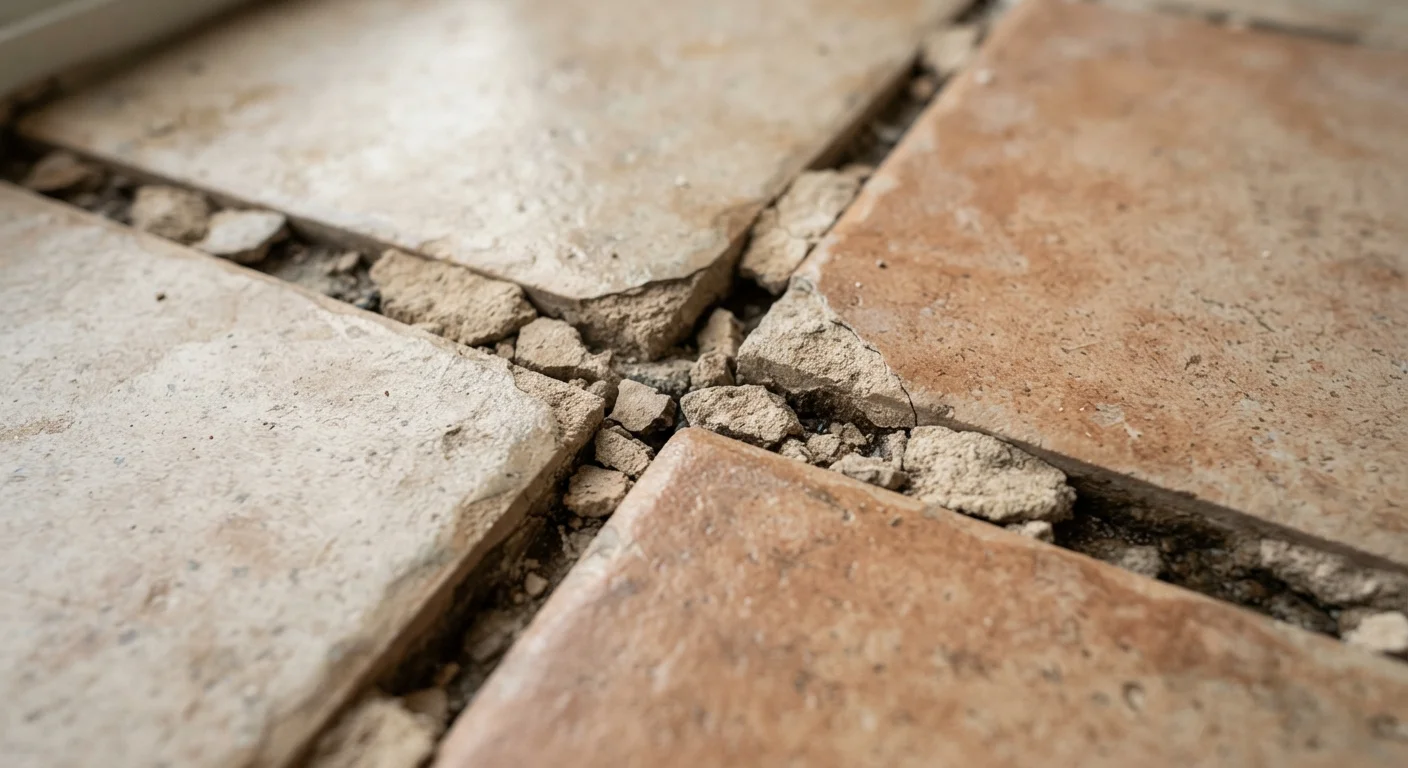
Grout is a rigid, cement-based material. It has virtually no flexibility once cured, which means any movement in the tiles, substrate, or building structure transfers directly into stress on the grout lines. When that stress exceeds what the grout can handle, it cracks. Understanding this fundamental property explains nearly every scenario where grout fails prematurely.
L/360
Maximum subfloor deflection for tile installations
The Tile Council of North America (TCNA) Handbook specifies L/360 as the acceptable deflection limit to prevent grout and tile cracking.
8–12 ft
Recommended spacing for interior movement joints
TCNA guidelines call for expansion joints at least every 8 to 12 feet in interior tile fields to accommodate natural building movement.
The encouraging news is that most root causes are fixable — and most can be avoided entirely with the right preparation. The sections below break down the most common mistakes that lead to grout cracking, why they happen, and exactly what you should do instead.
Common Mistakes That Cause Grout to Crack
Mixing grout with too much water to make it easier to spread.
Why it happens: Homeowners often add extra water to achieve a smoother, more workable consistency, not realizing this weakens the final bond.
Grouting too soon after setting tiles, before the thinset mortar has fully cured.
Why it happens: Impatience — or simply not knowing — leads many DIYers to grout the same day they set tiles, while the adhesive is still off-gassing and shifting.
Failing to install movement joints (expansion joints) in large tile fields or at plane changes.
Why it happens: Movement joints are often overlooked in DIY projects because they aren't visible in finished tile work and their purpose isn't intuitive.
Grouting over a substrate that flexes, bounces, or deflects underfoot.
Why it happens: Subfloor stiffness is hard to assess visually, and many homeowners tile over existing floors without evaluating whether the structure can support the rigid demands of tile and grout.
Not sealing sanded grout after installation, leaving it vulnerable to moisture and staining.
Why it happens: Sealing is often viewed as an optional finishing step rather than a necessary one, and it's easy to skip when a project feels nearly complete.
Addressing these mistakes before or during your tile project is far more effective — and far less expensive — than dealing with repeated repairs afterward. If you've already completed a tile installation that is now cracking, the diagnostic process starts with identifying which of these factors is at play before you reach for a bag of new grout.
Don't Regrout Without Fixing the Cause
Simply applying fresh grout over cracked lines without addressing the underlying problem — such as a flexible subfloor or missing expansion joint — guarantees the new grout will crack again, often within weeks. Diagnose the root cause first, then repair. Repeated patching without correction can also trap moisture and worsen tile adhesion over time.
How to Repair Cracked Grout the Right Way
Once you've identified the underlying cause, repairing cracked grout follows a clear sequence. Skipping steps — especially the diagnostic phase — is the most common reason DIY repairs fail.
- Remove the damaged grout completely. Use an oscillating multi-tool with a grout removal blade or a manual grout saw. Avoid chisels and hammers near tile edges, which can crack tile faces.
- Inspect the substrate. Press gently on surrounding tiles. Any tile that moves, sounds hollow, or rocks needs to be re-adhered before regrouting. Hollow-sounding tiles indicate bond failure.
- Address movement joints. If cracks consistently appear at corners or plane changes, rake out that joint completely and refill it with a color-matched flexible silicone or urethane caulk — never grout.
- Apply new grout. Mix to the correct consistency and work it fully into the joint using a rubber grout float held at a 45-degree angle. Remove excess with a damp sponge before it hazes.
- Cure and seal. Allow the grout to cure fully per product instructions, then apply a penetrating sealer to protect the finished surface.
Water Infiltration Is a Serious Risk
Cracked grout in wet areas like showers, tub surrounds, and bathroom floors is not merely cosmetic. Water can penetrate through gaps and reach the substrate below, causing mold growth, wood rot, or tile delamination. Address cracked grout in any wet area promptly to prevent costly structural damage.
For wet areas like showers, consider scheduling repairs promptly rather than monitoring the situation. Moisture intrusion through cracked grout can compromise backer board, framing, and insulation well before visible damage appears at the surface.