

Key Takeaways
- Caulk works on stationary surfaces; weatherstripping is designed for moving parts like door and window sashes.
- Using the wrong material can cause premature failure — caulk cracks when applied to moving joints.
- Many homes benefit from both: caulk around frames, weatherstripping around the operable edges.
- Proper surface preparation — cleaning and drying — is the single biggest factor in a lasting seal.
- Silicone caulk suits wet or exterior areas; acrylic latex caulk is paintable and ideal for interior trim.
Option A
Caulk
The permanent, rigid seal for stationary gaps.
Best for: Best for sealing fixed cracks and gaps around window frames, door casings, baseboards, and where two non-moving surfaces meet.
Option B
Weatherstripping
The flexible, compressible seal for moving parts.
Best for: Best for sealing the perimeter of operable doors and windows that open and close repeatedly.
If you have a crack between your window frame and the wall
Caulk
This is a fixed, non-moving joint. Caulk bonds permanently to both surfaces and won't peel the way adhesive weatherstripping would over time.
If cold air sneaks in around the edges of a door you open daily
Weatherstripping
Door edges compress and release every time the door moves. Weatherstripping is engineered to handle that repeated compression without cracking or losing its seal.
If you want to address both frame gaps and a drafty door in one project
Both
Apply caulk to any stationary gaps in the door casing and frame, then install weatherstripping on the door stop and threshold for a complete air seal.
If you need a waterproof exterior seal around pipes or vents
Caulk
Silicone or polyurethane exterior caulk creates a durable, waterproof bond that weatherstripping cannot replicate on irregular, non-moving penetrations.
Why Getting This Choice Right Matters
Drafts account for a significant share of home heating and cooling losses, and the fix is usually inexpensive — but only when you reach for the correct material. Applying caulk to a door edge that opens and closes will leave you with cracked, peeling sealant within months. Pressing weatherstripping into a fixed crack in masonry won't bond, and it will fall away. Neither failure seals anything — it just costs you time and money.
The guiding rule is straightforward: caulk seals stationary joints; weatherstripping seals moving ones. Before you open a tube or peel a backing strip, identify whether the gap you're addressing stays put or shifts every time a door or window operates.
| Criterion | Caulk | Weatherstripping |
|---|---|---|
| Best use | Fixed, stationary gaps and cracks | Moving joints on doors and windows |
| Flexibility after cure | Semi-rigid; cracks under repeated movement | Compresses and rebounds with each use |
| Common locations | Window frames, baseboards, door casings, exterior penetrations | Door stops, window channels, door bottoms, thresholds |
| Skill level required | Low to moderate; technique affects finish quality | Low; most types are peel-and-stick or screw-on |
| Typical lifespan | 5–20 years depending on type and exposure | 1–5 years; foam degrades faster than V-strip |
| Paintable | Yes (acrylic latex); No (silicone) | Generally no |
| Waterproof | Yes (silicone and polyurethane types) | Varies; foam absorbs moisture over time |
How to Apply Caulk Correctly
Caulk is a flexible sealant that cures into a semi-rigid bead. Common types include:
- Acrylic latex caulk — paintable, easy to clean up with water, suited for interior trim and baseboards.
- Silicone caulk — waterproof, highly durable, ideal for exterior use and around tubs or windows exposed to moisture.
- Polyurethane caulk — very strong bond, good for exterior gaps and wood-to-masonry joints.
Follow these steps for a lasting result:
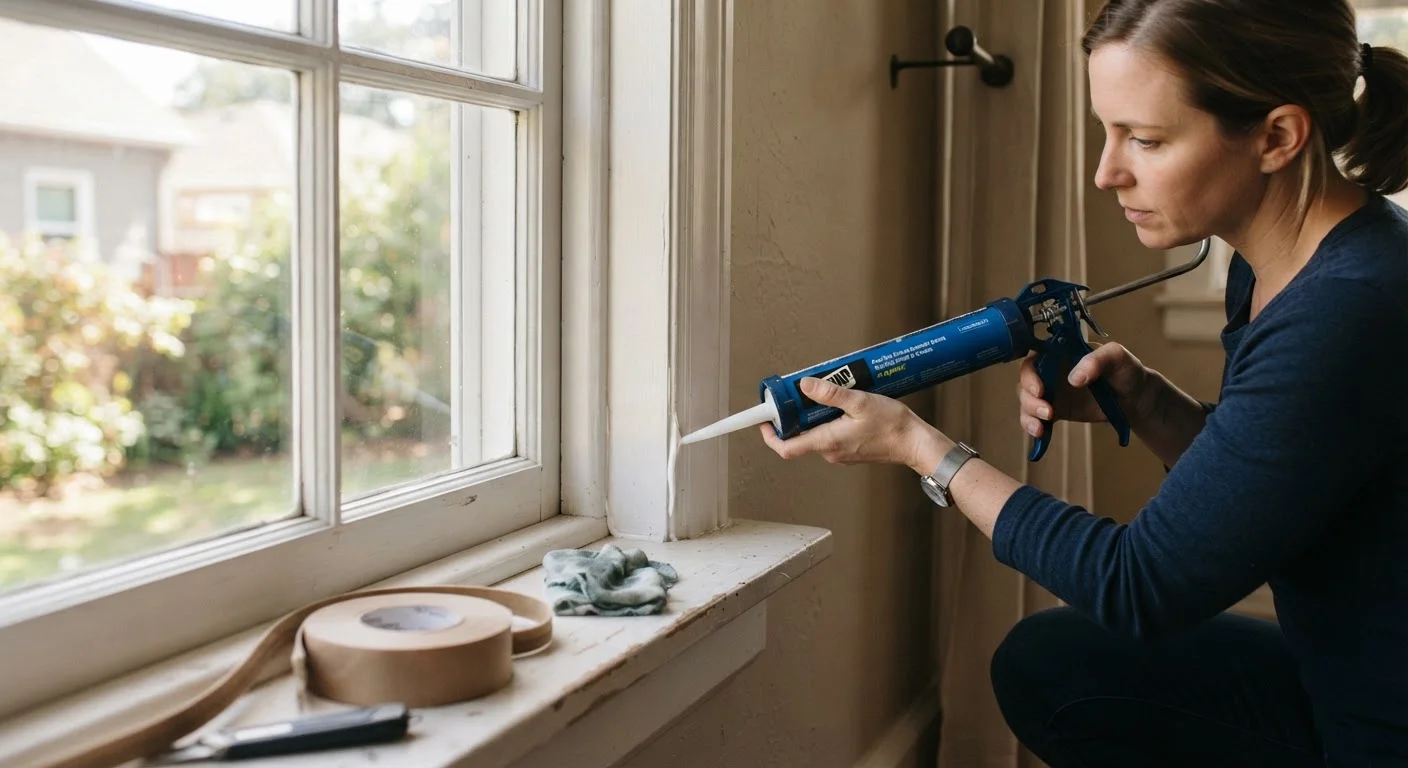
- Prepare the surface. Remove old, crumbling caulk with a putty knife or caulk remover tool. Clean the area with rubbing alcohol and let it dry completely — moisture prevents adhesion.
- Cut the tip at a 45-degree angle, opening the nozzle to match your gap width (smaller is better — you can always widen it).
- Apply with steady, even pressure. Move the gun at a consistent pace, keeping the tip slightly ahead of the bead.
- Tool the bead. Within a few minutes, smooth the caulk with a damp finger or caulk-finishing tool to press it into the joint and remove air pockets.
- Allow full cure time before painting or exposing the area to moisture. Check the product label — silicone typically needs 24 hours; latex may be paintable in one to two hours.
Don't Caulk the Weep Holes
Window frames are designed with small weep holes or drainage channels at the bottom to let moisture escape. Accidentally caulking these shut can trap water inside the frame, leading to rot or mold. Before caulking around a window exterior, identify and skip any intentional drainage openings.
How to Install Weatherstripping Correctly
Weatherstripping comes in several materials, each suited to specific locations:
- Foam tape (self-adhesive) — easy to install, affordable, works on door stops and window channels with light compression.
- V-strip (tension seal) — durable plastic or metal strip that fits inside sliding channels on windows and along door hinge and latch sides.
- Door sweeps — attached to the bottom of the door to seal the gap between door and threshold.
- Door thresholds with seals — replace or add to existing thresholds for a tight bottom seal.
Installation steps:
- Measure the perimeter of the door or window opening before buying materials.
- Clean the surface where adhesive will contact — grease and dust cause early peel-off.
- For V-strip: cut to length with scissors or tin snips, press into the channel (open side facing outside), and nail or press into place per product instructions.
- For foam tape: peel the backing and press firmly along the door stop — the surface the door closes against, not the door itself.
- For door sweeps: hold the sweep against the closed door so it lightly contacts the floor, mark the screw holes, and fasten securely. It should compress slightly but not drag heavily.
- Test the seal by closing the door and feeling for air movement or using a lit stick of incense near the edges on a windy day.